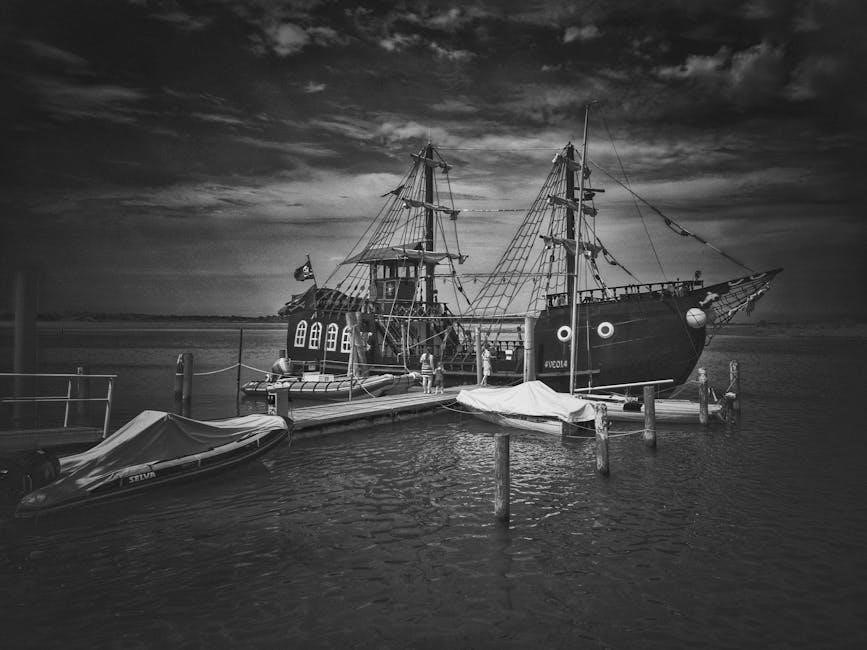
Lindberg Jolly Roger Pirate Ship Instructions: A Comprehensive Guide
Embark on a thrilling adventure into the world of model ship building with our comprehensive guide to assembling the Lindberg Jolly Roger Pirate Ship! This guide provides essential information for constructing your model.
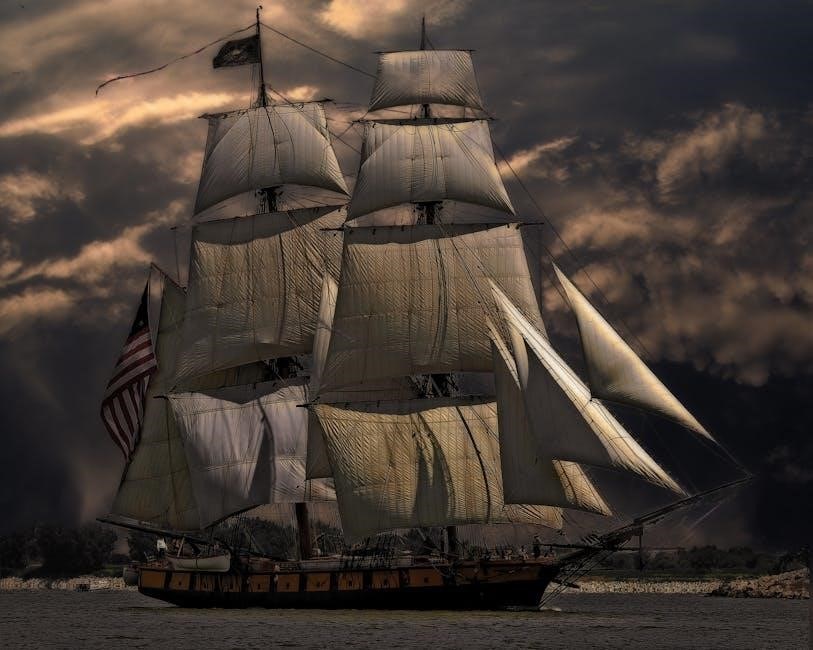
Ahoy, mateys! Prepare to set sail on a captivating voyage into the realm of historical model building with the Lindberg Jolly Roger Pirate Ship. This iconic kit, often a re-release of the classic Lindberg “La Flore” frigate, offers a rewarding experience for modelers of various skill levels, typically marked as skill level 2, suitable for ages 10 and up.
Don’t be fooled by the “silly marketing” as a pirate ship; beneath the Jolly Roger flag lies a detailed representation of a frigate from a bygone era. Many builders consider this kit a nostalgic favorite, reminiscent of simpler model-building times. Whether you’re a seasoned modeler seeking a relaxing project or a newcomer eager to learn the ropes, the Jolly Roger presents an excellent opportunity to hone your skills.
Remember to embrace the spirit of the high seas and let your creativity guide you as you construct your own miniature pirate vessel. With patience and attention to detail, you’ll transform a collection of plastic pieces into a striking display piece worthy of any pirate captain’s cabin!
Kit Contents and Features
Discover the treasures within! This section details the essential components of the Lindberg Jolly Roger kit, showcasing its intricate parts and exciting features that bring this pirate ship to life.
Detailed Plastic Pieces and Moldings
The Lindberg Jolly Roger Pirate Ship model kit boasts highly detailed plastic pieces molded in white, black, tan, and brown. These intricate components form the hull, decks, and various features of the iconic pirate ship. The moldings showcase a commendable level of detail, capturing the essence of a classic sailing vessel.
You’ll find cannons, ratlines, and other deck hardware meticulously replicated in plastic. The quality of the moldings ensures a satisfying building experience, allowing modelers to assemble a visually appealing replica. Careful examination of the plastic parts reveals fine detailing that enhances the overall realism of the finished model.
The kit includes multiple sprues containing a wealth of parts, each designed to fit together with precision. From the smallest deck fittings to the larger hull sections, every piece contributes to the authenticity of the Jolly Roger. These detailed plastic pieces serve as the foundation for creating a stunning scale model pirate ship.
Waterslide Decals and Pirate Markings
The Lindberg Jolly Roger Pirate Ship model kit includes a set of waterslide decals, allowing you to add authentic and colorful pirate markings to your finished model. These decals feature the iconic Jolly Roger skull and crossbones, along with other decorative elements that were common on pirate ships.
Applying the waterslide decals is a simple process that enhances the visual appeal of the model. By carefully following the instructions, you can easily transfer the decals onto the hull, sails, and other surfaces. These pirate markings add a touch of historical accuracy and personality to your Jolly Roger, making it a standout piece in any collection.
The decals are designed to adhere smoothly to the plastic surfaces, creating a seamless and professional-looking finish. With the inclusion of these waterslide decals, the Lindberg Jolly Roger model kit offers a complete and satisfying building experience for modelers of all skill levels.
Assembly Instructions Overview
The assembly of the Lindberg Jolly Roger Pirate Ship model is guided by a comprehensive instruction manual. This manual provides a clear, step-by-step approach to building the model, ensuring a smooth and enjoyable experience.
Step-by-Step Building Guide
The Lindberg Jolly Roger Pirate Ship model kit includes a detailed step-by-step building guide. This guide is designed to assist modelers of all skill levels in assembling the ship. The instructions typically begin with the hull construction, advising builders to carefully join the hull halves. Ensure proper alignment before applying glue.
Next, the deck should be installed, followed by the construction of the various structures. Details such as cannons, railings, and other deck equipment are added progressively. The guide emphasizes the importance of following the sequence carefully to avoid complications later in the build.
Pay close attention to the diagrams and parts numbers provided in the guide. The rigging is often presented towards the end of the instructions. The instructions also include guidance on attaching the masts and sails. This ensures a sturdy and visually appealing final product.
Rigging Instructions and Diagrams
The Lindberg Jolly Roger Pirate Ship kit’s rigging instructions are crucial for achieving an authentic look. The kit includes diagrams that illustrate the complex network of ropes and lines; These diagrams serve as a visual aid, guiding modelers through the intricate process of rigging the ship;
The rigging instructions often begin with attaching the masts securely to the deck. Once the masts are in place, the various lines are connected, starting with the main stays and shrouds. The instructions outline the correct way to thread the lines through the blocks. The rigging instructions show how to secure them to the appropriate points on the ship.
It’s essential to use high-quality thread. Modelers often find it helpful to pre-cut the lines to the required lengths. Then, use tweezers to assist with the delicate work of threading and knotting. Patience and careful attention to detail are key to successful rigging.

Painting and Finishing
Painting and finishing your Lindberg Jolly Roger model breathes life into your creation. Selecting the right colors, weathering techniques, and adding small details dramatically enhance the ship’s realism and overall appearance.
Color Scheme Recommendations
When painting your Lindberg Jolly Roger, consider historical accuracy versus artistic license. The instructions suggest a color scheme including white below the waterline, a black band, and wood tones on the gun deck sides. For a more weathered look, dirty the white with a mixture, as whitewash discolored rapidly at sea.
Researching historical pirate ships can provide inspiration, but feel free to add your unique touch. Consider the Jolly Roger flag’s iconic black and white, incorporating these colors into the ship’s details. Remember that pirate ships were often cobbled together using various materials, so variations in wood tones and paint are acceptable.
Adding touches of red can create a bold, striking effect, while using browns and tans for the deck areas will evoke a sense of age and wear. Ultimately, your color choices can tell a story about the ship’s history and the character of its crew.
Tips for Weathering and Detailing
To enhance the realism of your Lindberg Jolly Roger model, weathering and detailing are essential. Begin by simulating wear and tear with dry brushing, using lighter shades of the base colors to highlight edges and raised areas. This technique mimics the effects of sun and salt on the ship’s surfaces.
Next, consider adding washes to crevices and recesses to create shadows and depth. A diluted black or brown paint works well for this, emphasizing the ship’s planking and other details. Simulate rust streaks around metal fittings with thinned-down reddish-brown paint, applied sparingly with a fine brush;
For added realism, create subtle variations in the wood tones of the deck and hull. Use different shades of brown and tan, applied with a sponge or brush to create a mottled effect. Finally, add scale ropes, chains, and other details to bring your Jolly Roger to life.
Troubleshooting and Building Tips
Building the Lindberg Jolly Roger can present challenges. If parts don’t fit perfectly, gently sand or file them for a smoother connection. For warped plastic pieces, try carefully heating them with a hairdryer and reshaping them. When applying decals, ensure the surface is clean and glossy for better adhesion.
Rigging can be intricate; refer to diagrams and take your time. Use tweezers to handle small ropes and knots. If you encounter missing parts, contact Lindberg or a hobby shop for replacements. Remember to test-fit components before gluing to avoid errors.
Patience is key! Don’t rush the process. Work in a well-lit and organized space. Consider watching online build videos for additional guidance. With careful attention and these tips, you can overcome obstacles and create a stunning Jolly Roger model.