Hunter Ceiling Fan Manual: A Comprehensive Guide
Welcome to your comprehensive guide to Hunter ceiling fans! This manual provides all the information you need to properly install‚ operate‚ and maintain your Hunter ceiling fan‚ ensuring years of reliable performance and comfort in your home.
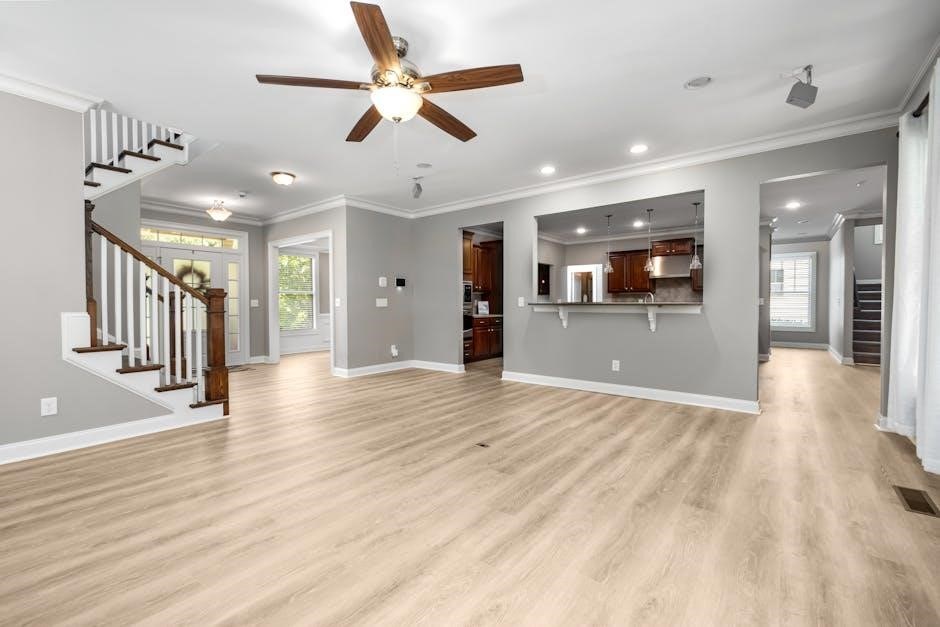
Hunter ceiling fans have been a staple in homes for generations‚ renowned for their quality‚ craftsmanship‚ and innovation since 1886. Choosing a Hunter fan means investing in a product designed for both performance and style. This guide will walk you through everything from initial installation to everyday operation‚ ensuring you maximize the benefits of your new fan. Whether you’re replacing an old model or installing a fan for the first time‚ understanding the basics will help you achieve optimal comfort and energy efficiency. Let’s delve into the world of Hunter ceiling fans!
Understanding Your Hunter Ceiling Fan
Before diving into installation or operation‚ it’s crucial to understand the components of your Hunter ceiling fan. Familiarizing yourself with these parts will make the entire process smoother and easier.
Identifying Fan Components
To begin‚ it’s essential to identify the key components of your Hunter ceiling fan. These typically include the motor‚ which powers the fan’s rotation‚ and the blades‚ which create airflow. The housing encloses the motor‚ providing protection and aesthetic appeal. The downrod connects the fan to the ceiling‚ while the canopy conceals the wiring. Finally‚ the mounting bracket secures the fan to the ceiling’s support structure‚ ensuring a safe and stable installation. Knowing each part ensures proper assembly.
Motor‚ Blades‚ Housing‚ and Downrod
The motor is the heart of your Hunter ceiling fan‚ responsible for its smooth and efficient operation. Blades are designed for optimal airflow‚ varying in size and shape depending on the fan model. The housing protects the motor and other internal components while contributing to the fan’s overall style. The downrod connects the fan to the ceiling bracket‚ and its length should be selected based on your ceiling height. Each of these parts play a critical role in your fan’s function and appearance.

Installation Preparation
Prior to installing your Hunter ceiling fan‚ it’s crucial to prepare adequately. Gathering the necessary tools‚ understanding mounting options‚ and correctly installing the ceiling bracket are key first steps.
Tools Needed for Installation
Before commencing the installation of your Hunter ceiling fan‚ ensure you have all the necessary tools readily available. This will streamline the process and prevent frustrating interruptions. Essential tools include a Phillips head screwdriver‚ a flathead screwdriver‚ and adjustable pliers. You will also need a wire stripper/cutter for safe electrical connections. A voltage tester is vital to confirm power is off before wiring. A ladder is necessary for reaching the ceiling‚ and a measuring tape will help with accurate placement. Safety glasses are recommended for eye protection‚ and work gloves to protect your hands. Finally‚ have a drill with appropriate bits for securing the mounting bracket.
Mounting Options: Low Profile‚ Standard‚ and Angle
Hunter ceiling fans offer versatile mounting options to suit various ceiling heights and room configurations. The low profile mount‚ also known as a flush mount‚ is ideal for rooms with low ceilings‚ maximizing headroom. The standard mount uses a downrod to suspend the fan‚ suitable for average ceiling heights‚ allowing for optimal airflow. For angled or sloped ceilings‚ an angle mount is necessary. This often requires a longer downrod to ensure proper blade clearance and balanced operation. Choosing the correct mounting option is critical for safety‚ performance‚ and aesthetics. Always consult your fan’s manual for specific recommendations and hardware requirements for each mounting type.
Ceiling Bracket Installation
Proper ceiling bracket installation is crucial for the safe and secure operation of your Hunter ceiling fan. Begin by locating a suitable ceiling joist or support capable of holding the fan’s weight. Remove any existing bracket before proceeding. The Hunter ceiling bracket supplied with your fan must be used. Securely attach the bracket to the joist using appropriate hardware‚ such as wood screws‚ ensuring it is firmly mounted. Verify that the bracket is level and can support the weight of the fan. Incorrect bracket installation can lead to fan wobble or‚ in extreme cases‚ detachment from the ceiling‚ posing a safety hazard. Refer to the manual for specific instructions.

Wiring Instructions
Proper wiring is essential for safe fan operation. Consult the wiring diagrams in your Hunter ceiling fan manual. Always disconnect power before wiring. Follow all local electrical codes for a secure connection.
Wiring Help and Diagrams
Navigating the wiring process can be simplified with the aid of clear and concise wiring diagrams; Your Hunter ceiling fan manual provides detailed illustrations specific to your fan model‚ indicating which wires connect to the corresponding wires in your ceiling’s electrical box. These diagrams are invaluable for ensuring correct connections and preventing potential electrical hazards. Remember to always double-check the diagrams and follow all safety precautions before commencing any wiring work. Incorrect wiring can damage your fan and create a fire hazard. If you’re unsure‚ consult with a qualified electrician.
Connecting Electrical Wires Safely
Safety is paramount when connecting electrical wires. Before beginning‚ always turn off the power at the circuit breaker to avoid electric shock. Use wire connectors‚ also known as wire nuts‚ to securely join the wires‚ ensuring no exposed copper is visible. Gently tug on each connection to verify its integrity. Follow the color-coding conventions: black to black (hot)‚ white to white (neutral)‚ and green or bare copper to green or bare copper (ground). A secure ground connection is crucial for safety. If your home wiring differs‚ consult a qualified electrician before proceeding to ensure correct and safe installation.
Operating Your Hunter Ceiling Fan
Now that your Hunter ceiling fan is installed‚ it’s time to learn how to operate it! Understanding the controls and settings will allow you to optimize airflow and comfort in your space.
Understanding Fan Controls (Pull Chains‚ Remotes)
Hunter ceiling fans offer various control methods‚ including traditional pull chains and convenient remote controls. Pull chains typically manage the fan’s speed settings and the light fixture‚ if equipped. Remotes provide more advanced control‚ often including dimming capabilities‚ reverse function activation‚ and timer settings. Familiarize yourself with your specific model’s control configuration for optimal use. Consult your manual to know which pull chain controls which function. Some remotes also come with wall mounts for added convenience. Always keep the remote in a safe place.
Speed Settings and Reversing Function
Hunter ceiling fans typically offer multiple speed settings to customize airflow. Use higher speeds for maximum cooling during warmer months‚ and lower speeds for a gentle breeze. Many Hunter fans also feature a reverse function‚ which changes the direction of the blades. In the winter‚ reversing the fan helps circulate warm air trapped near the ceiling‚ improving energy efficiency. The reverse switch is usually located on the motor housing. Experiment with different speed settings and the reverse function to find the most comfortable setting for your space and season.
Troubleshooting and Maintenance
Keep your Hunter ceiling fan running smoothly with proper care. This section covers common issues‚ solutions‚ and maintenance tips to ensure optimal performance and longevity of your fan.
Common Issues and Solutions
Experiencing problems with your Hunter ceiling fan? This section addresses common issues such as wobbling‚ noise‚ light malfunction‚ remote control unresponsiveness‚ and speed control problems. We provide step-by-step troubleshooting guidance and practical solutions to help you resolve these issues quickly and efficiently. Learn how to identify the source of the problem and implement the appropriate fix‚ saving you time and potential repair costs. From tightening screws to replacing parts‚ we’ve got you covered. Consult the manual for detailed diagrams and safety precautions before attempting any repairs.
Cleaning and Care Tips
Maintaining your Hunter ceiling fan is essential for optimal performance and longevity. Regular cleaning prevents dust buildup‚ which can affect efficiency and appearance. This section provides expert tips on safely and effectively cleaning your fan blades‚ motor housing‚ and light fixtures. Learn the best methods for removing dust and grime without damaging the fan’s components. Discover recommended cleaning products and techniques to keep your fan looking its best. Proper care ensures smooth operation‚ extends the lifespan of your fan‚ and enhances the overall comfort of your living space. Follow these guidelines for a consistently clean and efficient fan.
Warranty Information
This section details the warranty coverage for your Hunter ceiling fan‚ including the motor and other components. Understand the terms‚ limitations‚ and how to file a claim if needed to ensure protection.
Coverage Details and Limitations
The Hunter ceiling fan warranty provides specific coverage for the motor‚ often extending for a limited lifetime. However‚ certain limitations apply. Damage resulting from improper installation‚ misuse‚ or abuse of the fan is typically not covered. Understanding these details is crucial for a smooth warranty claim process. The warranty also often excludes issues arising from normal wear and tear‚ or damage caused by environmental factors. Always consult the full warranty document for complete information on what is covered and what is excluded to avoid any surprises.
Filing a Warranty Claim
To initiate a warranty claim for your Hunter ceiling fan‚ gather all necessary documentation‚ including your proof of purchase and the fan’s model number. Contact Hunter’s customer service through their website or by phone to start the claim process. Be prepared to describe the issue you are experiencing and provide any relevant photos or videos. Following their instructions carefully will help ensure a timely resolution. It is important to understand the warranty terms and conditions before filing a claim. Keep a record of all communication with Hunter regarding your claim.
Finding Manuals and Parts
Need a replacement part or lost your manual? Hunter Fan Company’s website offers a comprehensive resource for manuals and replacement parts. You can easily find what you need by searching with your fan’s model number.
Online Resources for Manuals and Replacement Parts
The Hunter Fan Company website is your primary online resource for finding both manuals and replacement parts for your ceiling fan. Their website offers an extensive database of manuals available for download in PDF format‚ allowing you to easily access installation guides‚ troubleshooting tips‚ and warranty information. Additionally‚ you can browse their online parts store to purchase genuine Hunter replacement components‚ ensuring compatibility and optimal performance. Be sure to have your fan’s model number readily available to streamline your search and locate the correct resources. Many third-party retailers also sell Hunter fan parts.
Identifying Your Fan’s Model Number
Locating your Hunter ceiling fan’s model number is crucial for accessing the correct manuals‚ replacement parts‚ and warranty information. Typically‚ the model number can be found on a sticker located on the fan’s motor housing. This sticker may be visible on the top of the motor housing. Alternatively‚ it might be inside the top canopy that covers the mounting bracket against the ceiling. In some cases‚ it may be printed on the original packaging or included in the documentation that came with the fan. Once located‚ record this number‚ as it will be essential for all your future inquiries and part orders.
Safety Precautions
Prioritize safety when installing and operating your Hunter ceiling fan. Adhere to all provided safety instructions to mitigate risks of fire‚ electrical shock‚ and personal injury. Always disconnect power before working on the fan.
Important Safety Instructions
Before commencing any installation or maintenance procedures on your Hunter ceiling fan‚ meticulously review all safety instructions provided in this manual. Ensure the power supply is disconnected at the circuit breaker to prevent electrical shock. Verify the ceiling joist can adequately support the fan’s weight. Use only the provided hardware for installation‚ and never attempt to modify the fan or its components. Regularly inspect the fan for any signs of damage or loose connections. If any issues are detected‚ cease operation immediately and consult a qualified electrician. Safe installation guarantees long use.
Avoiding Fire‚ Shock‚ and Personal Injury
To prevent fire hazards‚ never install your Hunter ceiling fan in damp or wet locations. Always use the correct voltage and wiring connections as outlined in the wiring diagrams. Avoid overloading electrical circuits. Prior to cleaning‚ always disconnect the power supply to avoid electric shock. When operating the fan‚ keep hands and objects clear of the rotating blades to prevent personal injury. Ensure all screws and connections are properly tightened to prevent the fan from falling. If unusual smells or noises occur‚ immediately turn off the fan and contact a qualified technician for assistance.